How about we try something that has more symmetry...
Once in my branch, run:
This case was printed with 0.4mm extruder nozzle with 0.3mm layer height.
As of writing, this version is not yet merged with QMK master repository. To configure and compile, please us my branch.
Navigate to keyboards/pabile/p40_ortho/keymaps/ver2/ then edit with the keymap/layout of your liking.
As a general rule, please test the micro-controller before soldering. Promicros that comes with my kits are pre-flashed with my default layout and should be detected as P40 Ortho. This was done to test the micro controllers that I release and to be able to immediately test the kit after assembly. Update 20231228: Happy New Year!
PCB
The PCB accepts both MX and ALPS switches. PROMICRO microcontroller is placed at the top (a little) left of the board. Diode guides/silkscreen are also placed on front side to make back side look cleaner. There are also provisions for 3mm LEDs and RGB underglow.
This one now supports 2 unit space (MIT).
/* pin-out */#undefine MATRIX_ROW_PINS#define MATRIX_ROW_PINS { D1, D0, F4, F5 }#unfine MATRIX_COL_PINS#define MATRIX_COL_PINS { D4, C6, D7, E6, B4, B2, B3, B1, F7, F6 }/* Backlight and RGB#define RGB_DI_PIN D3#undef RGBLED_NUM#define RGBLED_NUM 40#define BACKLIGHT_PIN B5#define BACKLIGHT_LEVELS 3*/
Top Plate
Possible Layouts
Programming
Please follow p40 configuration files and use ortho keymap:
Update 20200712: Make sure that you are using my branch of QMK
sudo git pull origin pabile
sudo make pabile/p40_ortho:default
Update 20200920: QMK's repository is now updated with P40 Ortho. Please update your QMK with those from master and delete copies from my branch.
Flash firmware using avrdudess: https://pabileonline.blogspot.com/2020/03/notetoself-installing-qmk-in-windows-10.html
To reset the promicro, ground RST and GND
Default hex and configuration related files: https://github.com/pabile/Pabile-Keyboards
Sample build
Here's my build with Orange Alps covered with Tai Hao Dolch keycaps (borrowed from Pops). I think it'll look better if the case was sanded and painted.
Update 20200627: More photos...
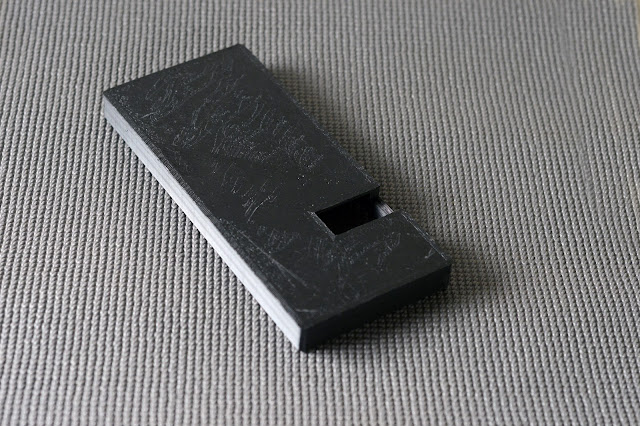
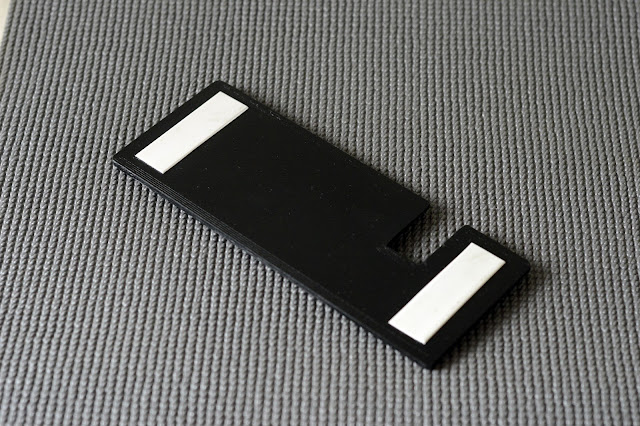
Here's some photos using a stand that I made. I think I like the stand better:
Printed with the newly arrived 1.0mm nozzle. Printer still needs calibration but i think I'll stick with this nozzle.
Actual photos of PCB and Top Plate
Bonus photos...
Case design files: https://www.thingiverse.com/thing:4506900
Update 20200710: Programming
sudo git pull origin pabile


Comments
Post a Comment