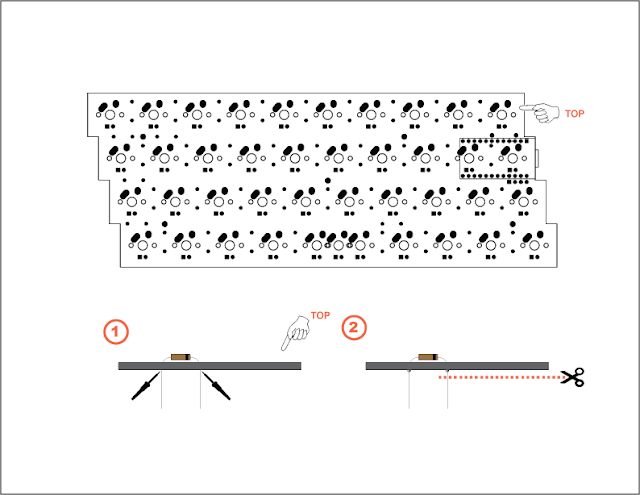
Though the PCB and plate shown in the guide below are for version 2 of this kit, the instruction are nearly identical. P40s v2 is unreleased and did not made it to production.
Each P40s mechanical keyboard kit is composed of the following:
Once all components are installed/soldered, firmly drop the kit in the case and apply the four screws provided.
Buy v1 kit here
Each P40s mechanical keyboard kit is composed of the following:
- 1x Printed circuit board
- 1x Stainless steel top plate
- 1x 3D printed casing
- 1x pro-micro compatible micro controller with pin headers
- 40x diodes
- 4x screws
Update 20200714: To prevent the switch pins from touching the top of the micro controller, it is advised to shield the two components. I typically do this by placing 2-layers of electric tape between the pcb and controller (sandwiched).
Once all components are installed/soldered, firmly drop the kit in the case and apply the four screws provided.
Other files
Firmware: https://config.qmk.fm/#/pabile/p40/LAYOUT_ortho_4x10


Comments
Post a Comment